Sometimes it seems like getting an Excel spreadsheet to print correctly is like trying to control a wild elephant. Here's how to tame the beast: set the print area and adjust your page setup.
Step 1
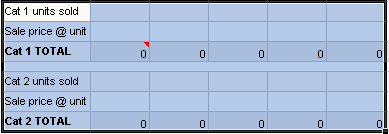
Highlight Print Area
In Microsoft® Excel®, highlight all portions of the worksheet you want to print. You can do this by clicking and dragging with your mouse. If the print area is large, you can highlight the area by clicking in the upper left cell to be printed, scrolling to the end of the area you want to print, then SHIFT CLICK the lower right cell of the print area.
Step 2
Set Print Area
Select File|Print Area|Set Print Area. Everything contained in this selection will print when Print is selected.

Step 3
Select Print Preview
Select File|Print Preview or click the Print Preview button on the toolbar to see how the page will print. If your selection is too wide to print on the page, you can change the page orientation, or proceed to step 4 to scale the content.

Step 4
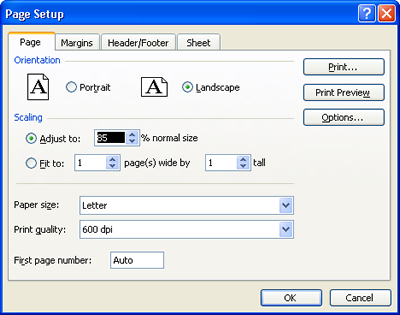
Scale Content (Optional)
If desired you can scale your content to make it fit on a page. Select File|Page Setup, then in the Scaling area select Fit to... to adjust the area to fit the current page. Alternately, you can adjust your page scale to a percentage of the original size.
Now when you print your page there should be no surprises as to how it will print.

| Note: If you have our Solid Converter PDF v3 Professional version, keep in mind that you can print to a PDF file from Excel's File|Print menu or by clicking the Create PDF button. |

 Follow us on Twitter